Hey guys!
So, today my crafty blogger friend Katie is giving me a much needed break and guest blogging for me. Katie has known me for almost ten years and in those ten years I’ve been constantly amazed by her craftiness. This is mostly because while I have an inner crafty streak I am quite far from being what you would consider “crafty”. I can’t sew, so I tend to stick with DIY projects that require little more than scissors and glue. Yep. That’s how I roll.
Lucky for me (and you) Katie has put together a tutorial so easy that even I could do it. Thanks Katie :). Now without further ado, here she is….
Hi guys. I’m Katie.
I blog over at The Red Kitchen.
I typically blog in a world of thread and fabric. Sewing is my regular.
I typically blog in a world of thread and fabric. Sewing is my regular.
I wasn’t about to try and style blog like Lauren does.
Let’s just say my clothing style isn’t really blog-worthy. 🙂
So I figured I’d stick to what I know and share a little creative tutorial with you all today.
But I wanted it to be something easy.
Actually, I wanted it to be really easy.
So easy that Lauren could do it.
So easy that Lauren could do it while she’s stuck on the couch breastfeeding.
Yeah.
That easy.
Since Lauren and I met during our college summers when we worked together as day camp counselors, thinking of Lauren always makes me think of outside summer fun.
And all of the funny, funky things we used to make with the day camp kids.
I don’t remember whether we made many friendship bracelets with the kids back in those days.
But this version is so easy that we could have.
This version is so easy that a ten year-old could do it.
Or a seven year-old.
But, ya know, they’re slightly more stylish than that. 🙂
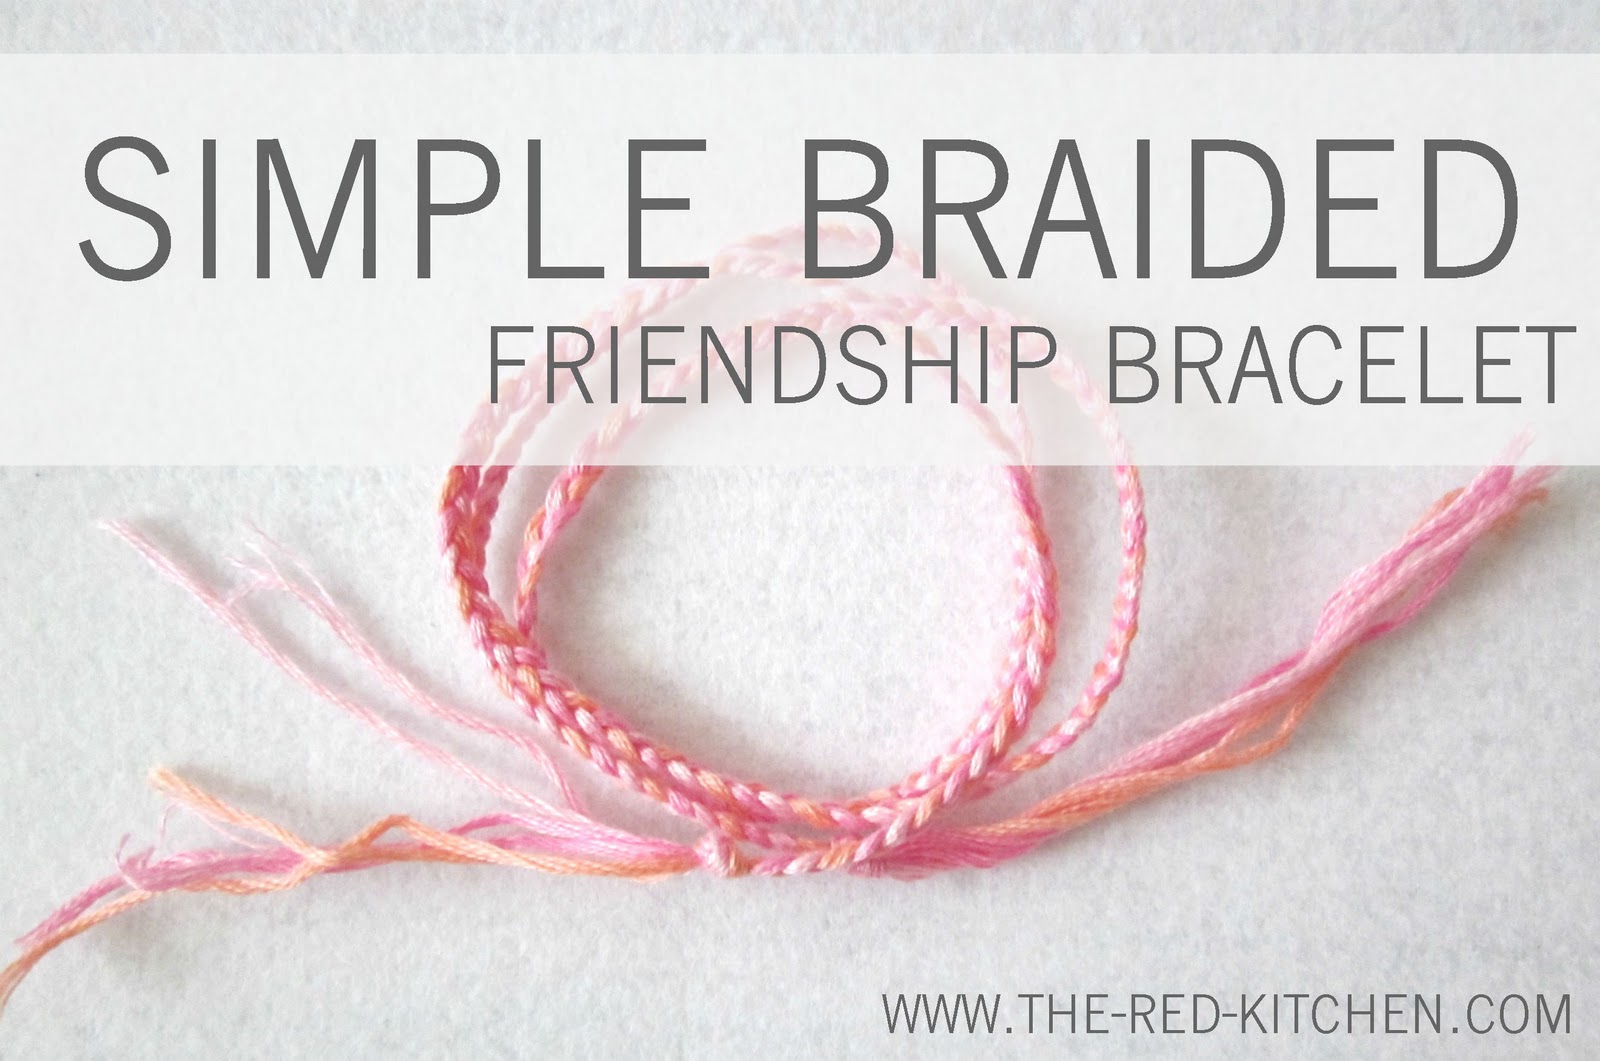
Here’s what we’ll be making today…
Want to make one of your own?
Or one for everyone you know?
Or five for everyone you know?
Hint:
These make great Valentines for friends.
And they’re dirt cheap!
But prettier than dirt.
These are super fast and easy.
Let’s get started.
.jpg)
Step 1: Cut string
+(edited).jpg)
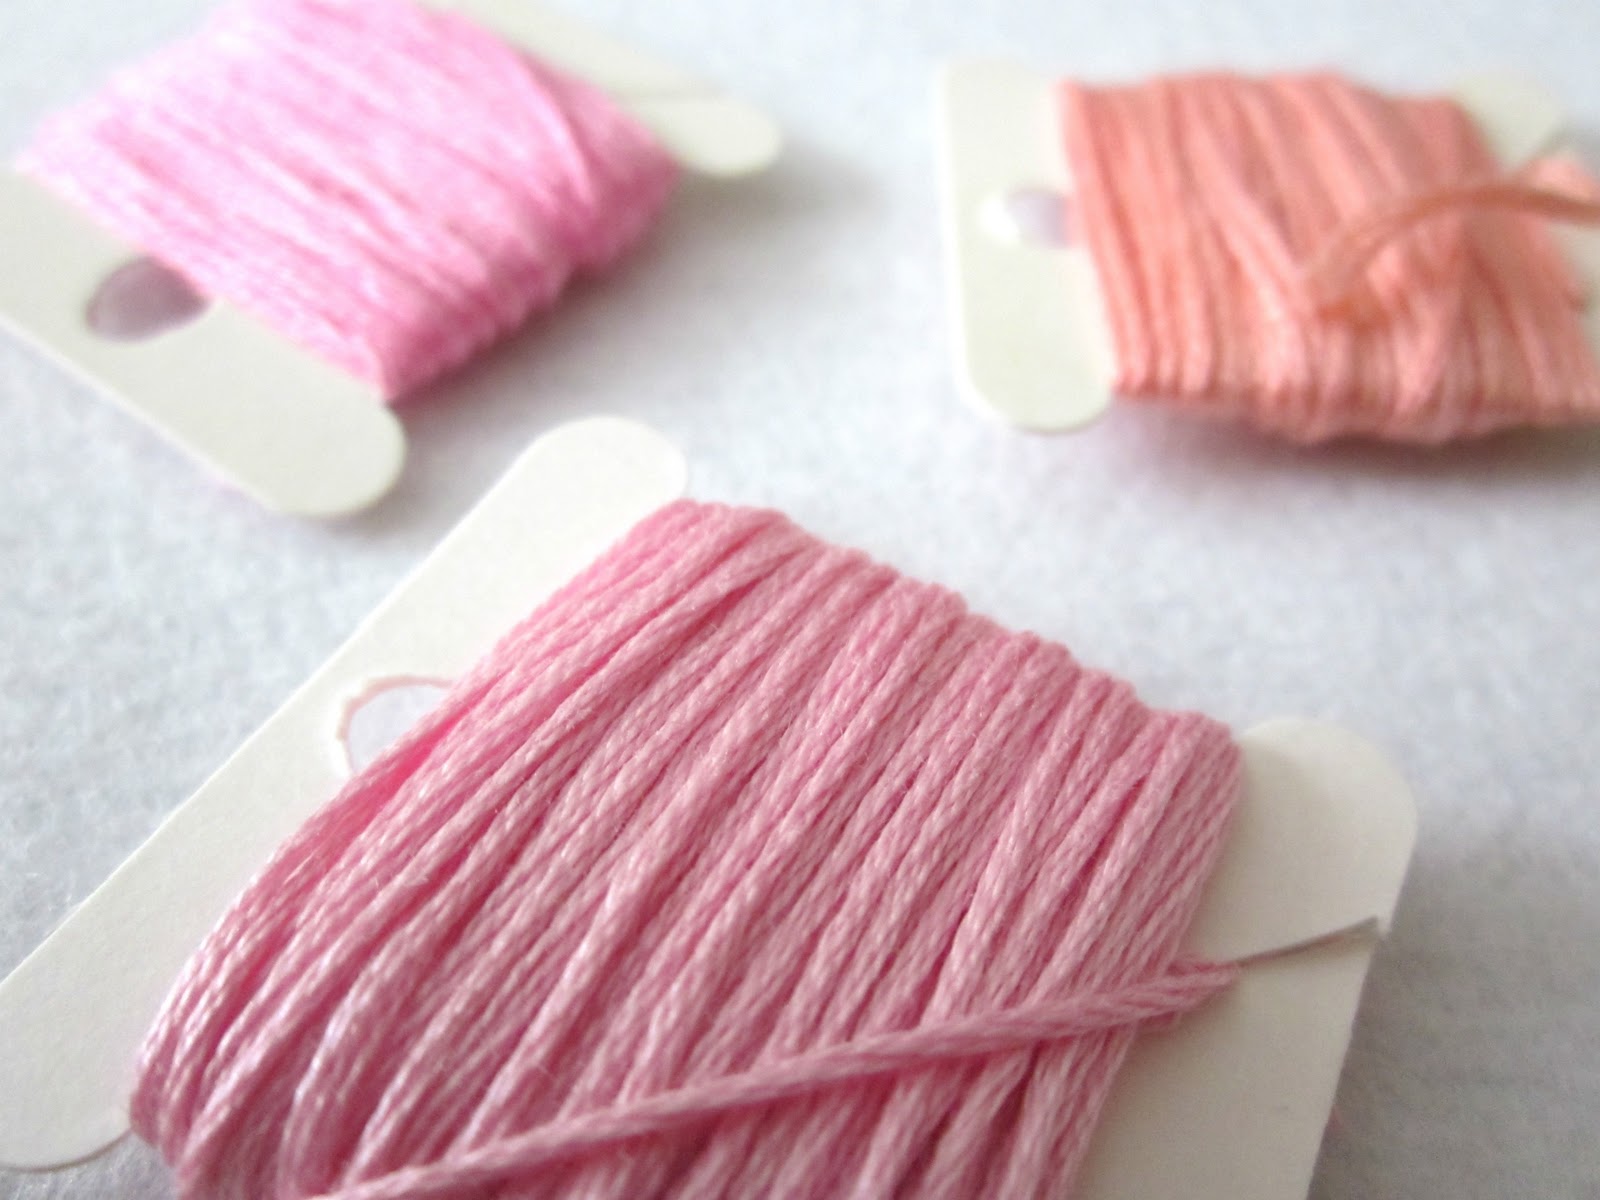
Choose three colors of embroidery floss.
For each color, cut a length of string about 1 arm length long.
For this bracelet I cut double the amount of string and then cut each piece in half so I’d have two strings in each color.
(Tip: For a blended-color look like the one in this bracelet, choose colors in the same hue.)
Step 2: Tie start knot
+(edited).jpg)
Gather all of your strings together and tie a knot at one end.
Be sure to leave a few inches of string at the end.
You’ll use this to tie your bracelet on your wrist when you’re finished.
+(edited).jpg)
Slip a safety pin through your start knot and pin it to a secure surface.
(Tip: To take your project outside or on the road, pin it to your pants!)
Step 3: Braid
Braiding is a fairly basic and universal technique, but in case you’re not familiar with it, let’s do a quick review.
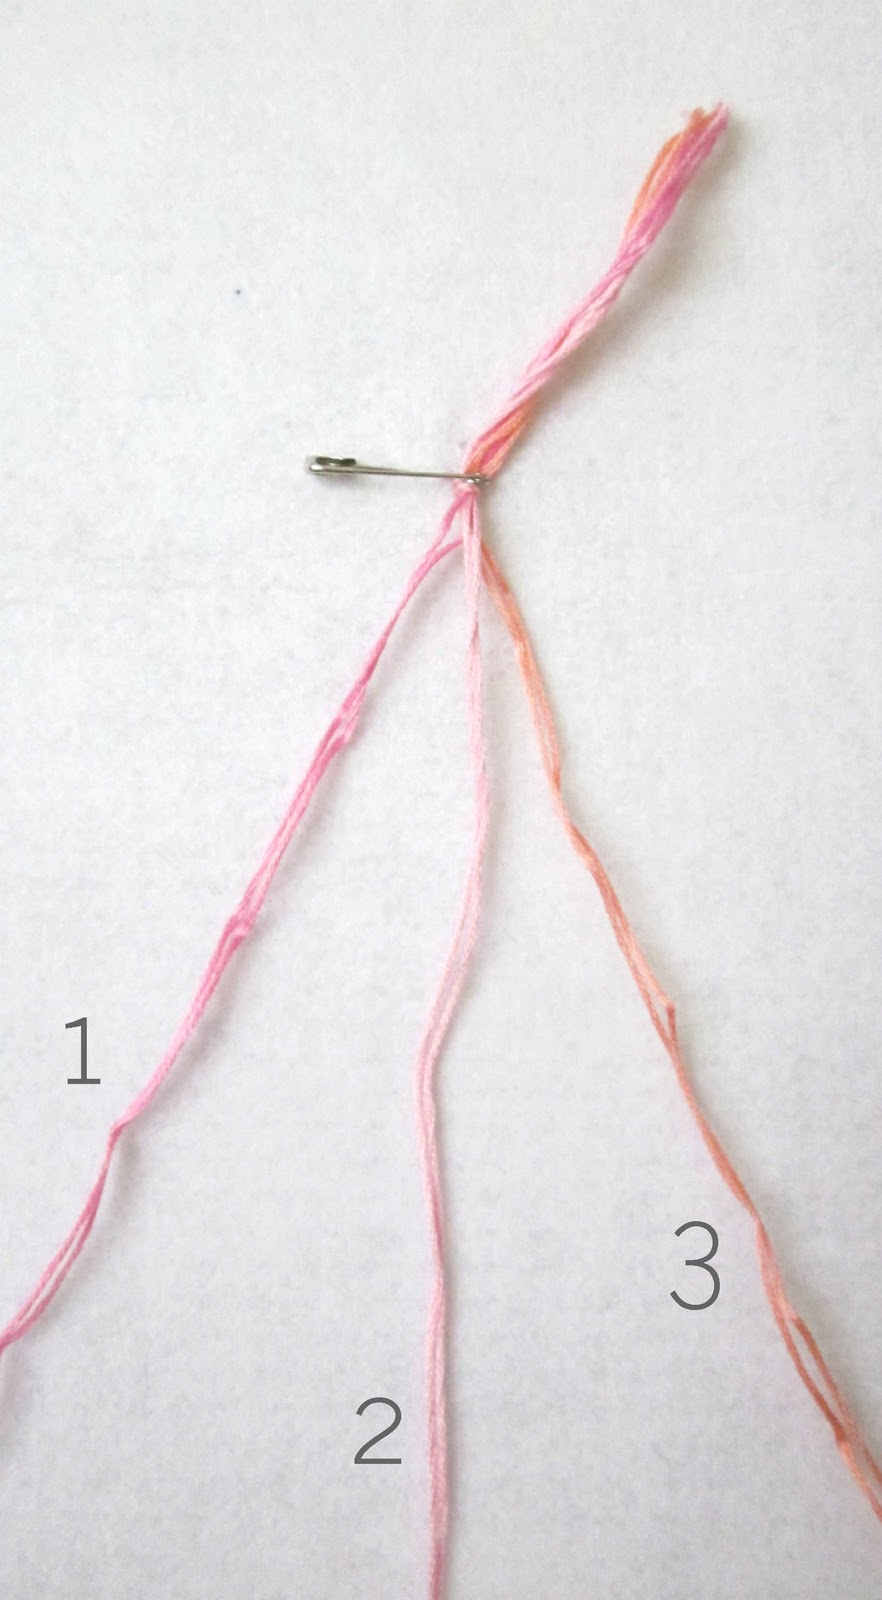+(edited)+with+numbers.jpg)
Spread each of your strings apart.
I have two strings in each color here, but I treat each color like one string while I braid.
In this case, the bright pink is string #1, the light pink is string #2, and the peach is string #3.
.jpg)
A – String 3 crosses over string 2.
B – String 1 crosses over string 3.
C – String 2 crosses over string 1.
Repeat steps A-C until you’ve braided the entire length of your strings.
(Tip: For a tidy, even braid, keep a taught grip on your strings as you braid.)
Step 4: Tie end knot
+(edited).jpg)
When you’re finished braiding, tie a knot at the end.
Be sure to leave a few inches of string left after the knot.
(Tip: For a polished look, try to make the loose string at the beginning and end approximately the same length.)
Step 5: Tie it on
+(edited).jpg)
The length of your braid should wrap around your wrist two or three times.
Wrap it around your wrist so that it’s comfortable.
Using the loose strings at each end of your bracelet, tie a knot to keep it in place on your wrist.
+(edited).jpg)
Pair with an old funky tye-dye t-shirt and skinny jeans.
It’s the cool new trend I’m starting.
Also, it’s really comfortable.

Have fun braiding to your little heart’s content!
Thanks for having me over today, Lauren!
Give that sweet baby Fern lots of kisses for us!
Much love,
……………
Thanks Katie! And make sure to pop on over to The Red Kitchen and check out Katie’s other awesome craftiness!
xo
Lauren


I miss the days of friendship bracelets!
so cute!
I used to make something like this with the little girl I used to babysit!
🙂
Oh I love friendship bracelets so much!
adorable – love the blended look. 🙂 i used to make these all the time, your version + the other version, where it’s knotted and twisty looking (like this one http://0.tqn.com/d/parentingteens/1/0/k/i/striped2a.jpg)
Brings back old memories of my childhood. We used to make them exactly like this!
I remember making these in the summer on the front lawn! So much fun! 🙂
These little friendship bracelets are just darling! I love the colors you chose too! Friendship bracelets are so fun and such a nostalgic gift for close friends.
Happy Wednesday!
Cheers,
Christi
i used to make these all of the time when i was in junior high. even the fancy kinds. i want to make some for my book club friends.
LOVE that! so easy and cute
i used to make these! i love the colors!
It was dark when I woke. This is a ray of sunihsne.
I feel satisfied after finding this one.
I feel satisfied after finding this one.